A Quick Start on Psets
1. Starting up
Click on this link https://cde.stensal.io/2020-cs50 to go to the demo pages.
You should be introduced with this page: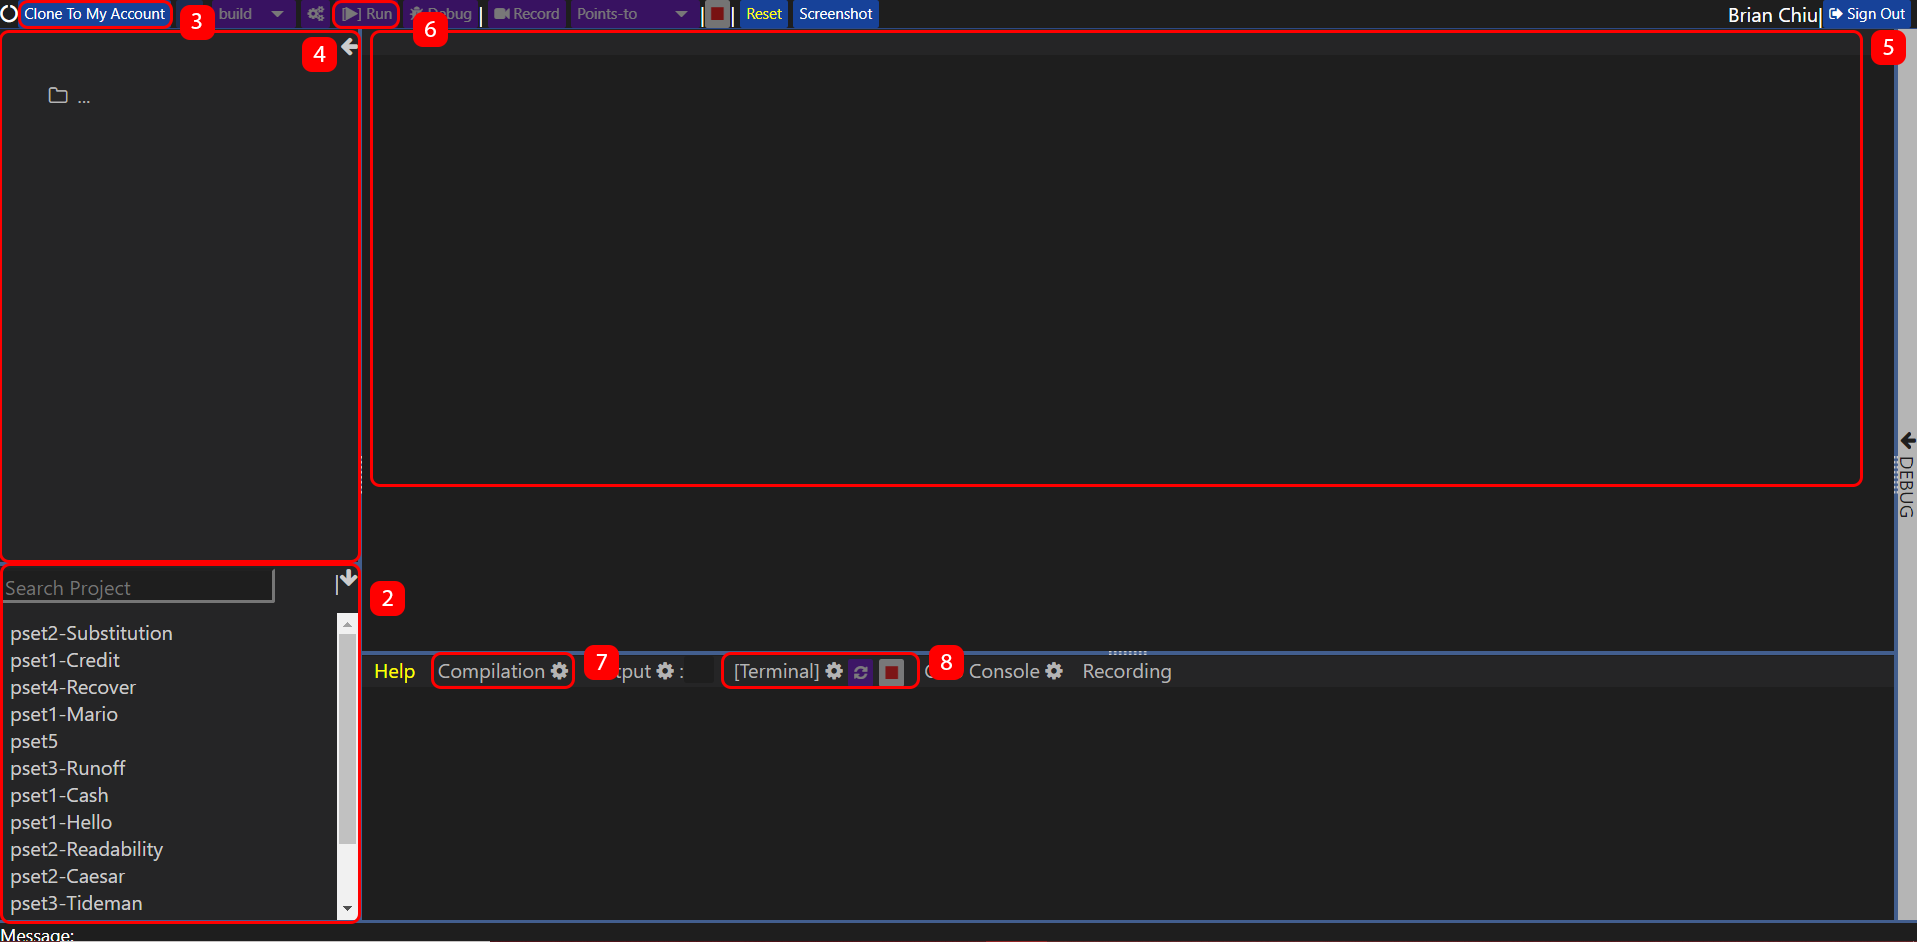
2. Opening up the Projects Folder
Scroll through the projects panel to find the pset that you want.
The panel should look like the below: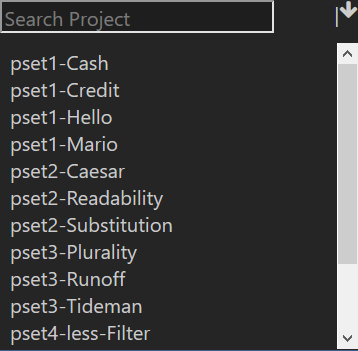
Click on the Pset that you want to use to open it.
3. Cloning the project
Click on the
to clone the pset to your account so you can save changes.
It should show you this page: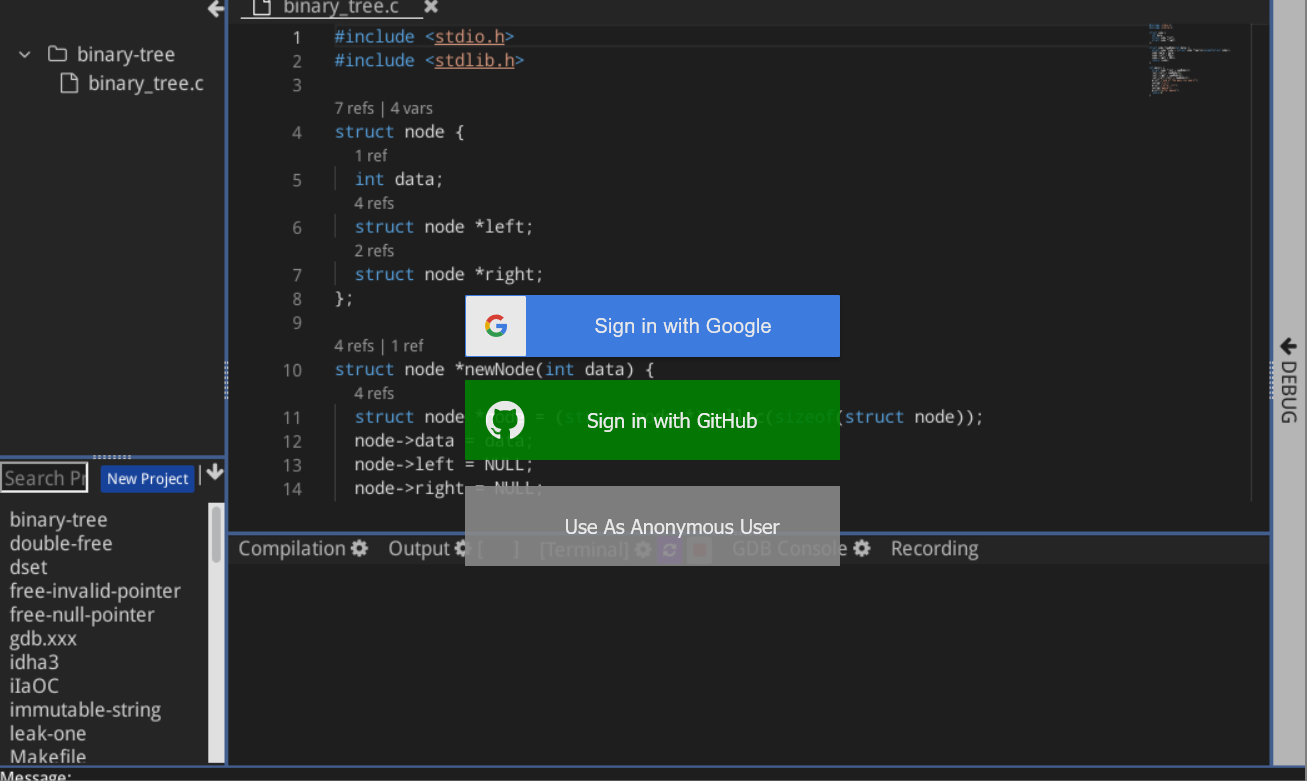
Log in anonomously or with Github/Google.
This will redirect you to a similar looking page as the page before, but this time with different buttons on the top-right, shown below:
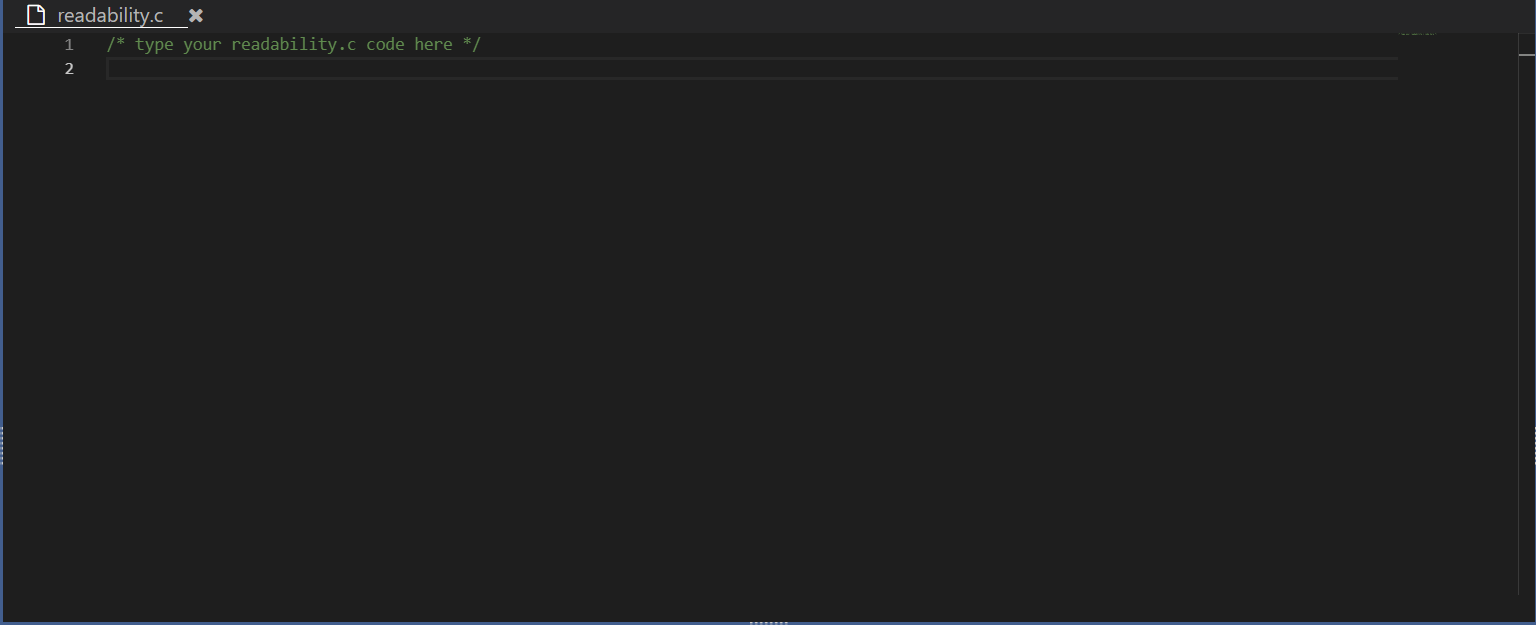
4. Opening Your Project
If done correctly, your panel on the left should look like below (we are using pset2 for this example):
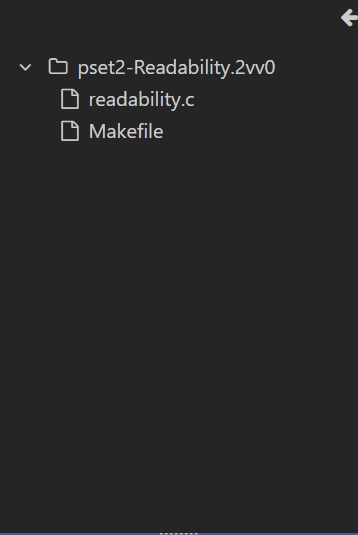
Click on any of the files names to open up the file. The right side of your screen (5) should look something like below:
6. Running Your Project
To run your project, use the
button. For people doing pset4, please see (Additional Information) before clicking the button.
If clicked, the IDE should pop up the compilation panel (7) before going terminal panel (8), shown below:
In this tab, you can run your program by calling the function as you would in a normal terminal. Note that if you change anything in the code, you must click the
Additional Info. Pset4 Configs
Since pset4 requires a bmp, there are some things you have to do to set it up in the build configuration, shown below:

Changing build configuration
On the top-right tooltip, there should be a settings tool (1). You can click on that to open up something called .stensal_project_configurations. We will be focusing on the top part of the configuration for now, shown below:

Changing the top parts
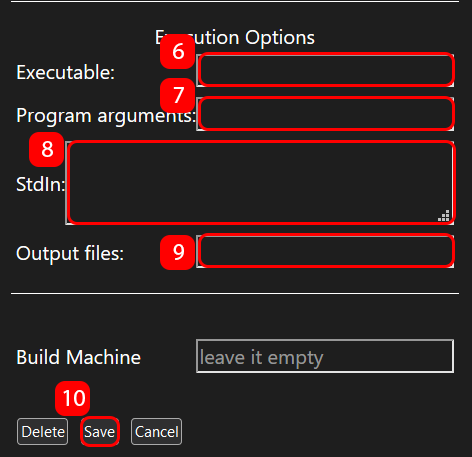
Changing the bottom parts
For pset4, you have to change the executable (6) to the program you call and the program arguments (7) to be any arguments that you gave it.
The stdin (8) isn’t needed for the current pset, but it is everything that you send in after you run the arguments.
The output file (9) for pset4 is “out.bmp” or the bmp file you made with the program.After changing configurations, click on the save (10) button as well as the
button on the top left. You can then switch the configurations to your configuration (2) and continue the tutorial with the “Running the Program” step.